TopicId138
Note: before physically connecting the webcams to the computer, see Installing the cameras.
Type of installation
There are two ways to install the GPS:
Install from CD
This method is the best as it offers a full setup: support libraries and programs can be automatically installed without having to be connected to the internet.
The most important requirement is Microsoft framework .NET. If not found, it will be automatically installed. (See Installing Microsoft Framework.NET)
Install from the MxGPSSetup.msi file
This method is generally used to update the GPS to a newer version.
It can also be used to install the GPS for the first time. In that case, an Internet connection will be necessary to download and install any missing support libraries or programs that are required for running the GPS. (See Installing Microsoft Framework.NET)
Installing the GPS
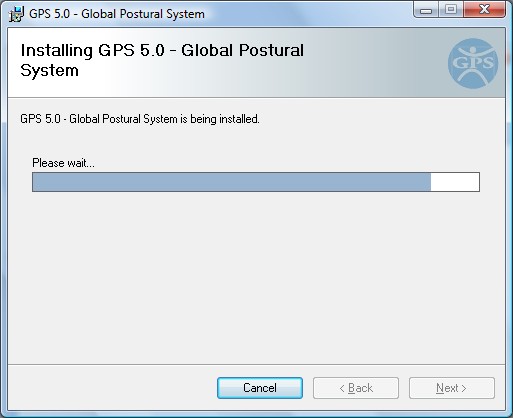
The GPS will be automatically installed after the support libraries and programs (if any), regardless of the method of installation.
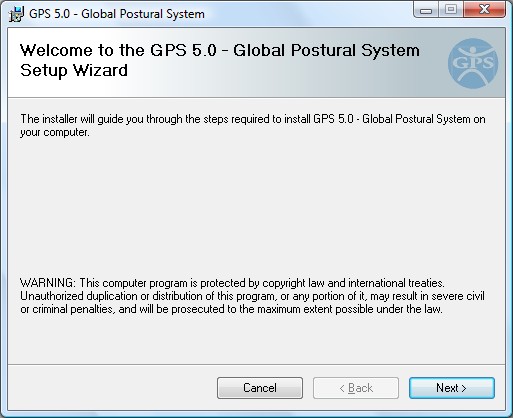
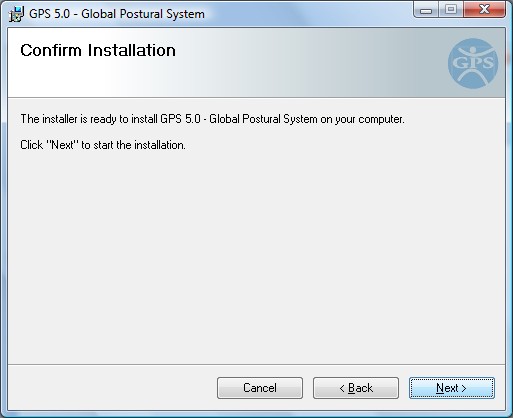
The GPS is really easy to install. The setup wizard guides you through the installation process.
In most cases, you will just have to click the Next button to proceed with the installation.
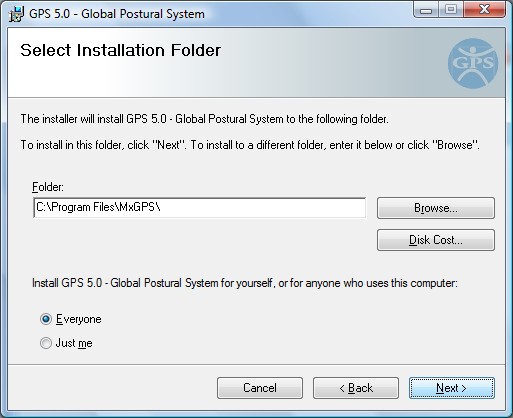
Installation screenshots (example):
Select Installation Folder
This dialog box allows you to choose the folder where to install the GPS and the type of user.
The installation folder is typically a folder on the computer hard disk; it is not recommended to use removable or network disks.
The installation location suggested automatically during setup is the best choice in most cases.
Note: in any case, the operating system will store examination and patient data in the default application folder (see GPS folders and files).
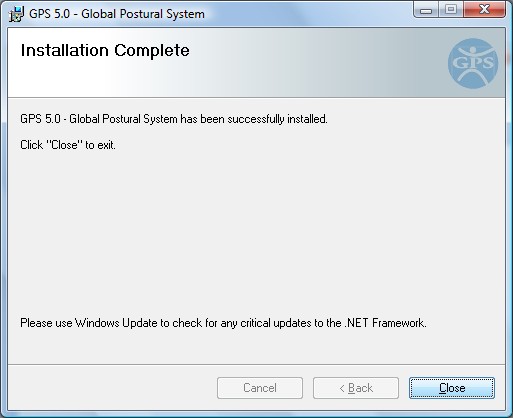
At the end of the installation, you can start the program in several ways.
See also:
Setup and language technical details